How To Choose The Right Size & Layout For Your Outdoor Kitchen

You’re ready to take your outdoor space to the next level with an outdoor kitchen. You’ve researched grills and amenities and know what features are on your “must have” list. But before you begin buying and building, it’s important to think about your kitchen’s finished size and layout. Read on to learn more about how to choose the best kitchen size and layout for your needs, key measurements to keep in mind and other details that may come into play.

Getting Your Outdoor Kitchen the Right Size

Your kitchen’s size will depend on your available space, how you plan to use it — from family time to large gatherings — and what you want to include. For a small yard or patio, you’ll want to look at more efficient and simple layouts, such as a linear layout or an island. If you have more room, an L-shaped or U-shaped layout can help you make the most of your outdoor

kitchen’s functionality and fun factor.
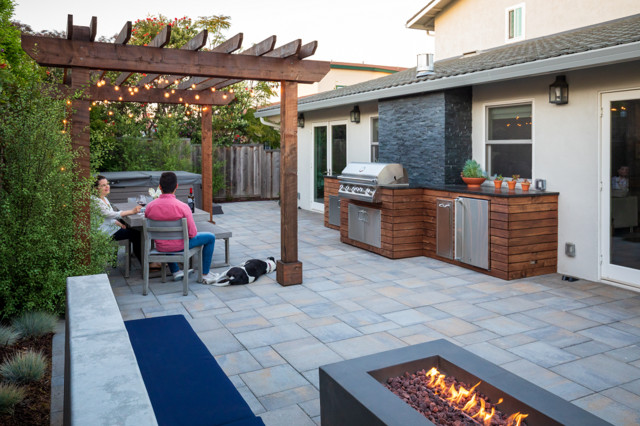
Whatever size kitchen you want, plan to have enough space for food prep, cooking, serving and cleanup. Think about how many people will want to be cooking or prepping food at the same time, and include enough space so people can move around easily. Ideally, you want it to be large enough to be comfortable but not so large that it isn’t efficient.

Take your layout cues from indoor kitchens. Think about efficient work triangles and access for both cooks and guests. Layout options range from a single counter-and-grill combination to an elaborate multisided installation.

Remember, unlike indoor kitchens, you usually won’t have four walls to define the space. Instead, you’ll use the countertops and cabinets to create the “room.”
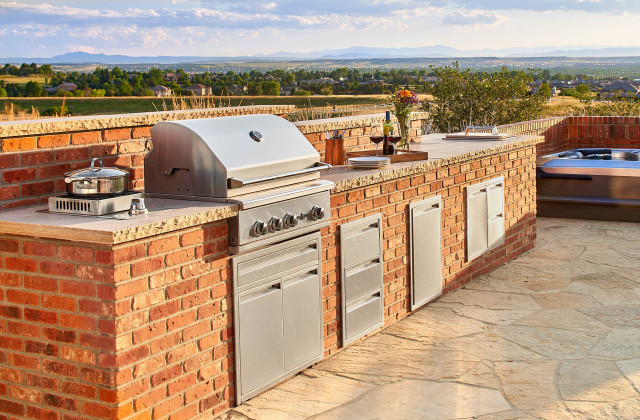
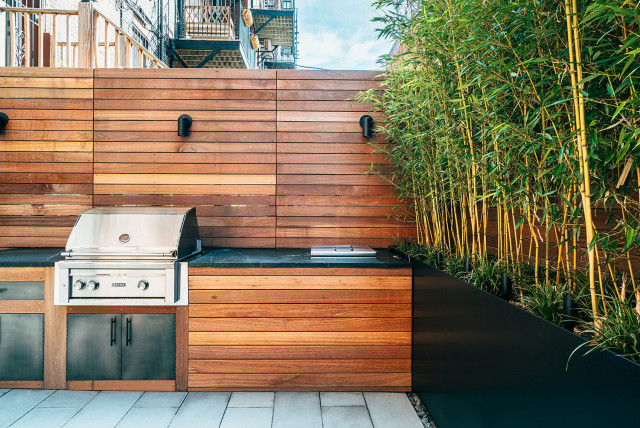
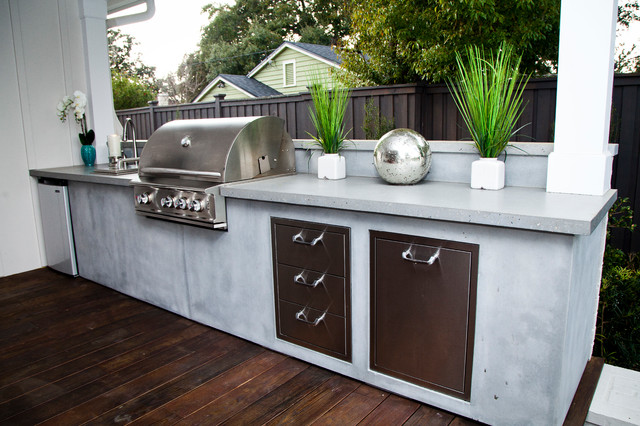
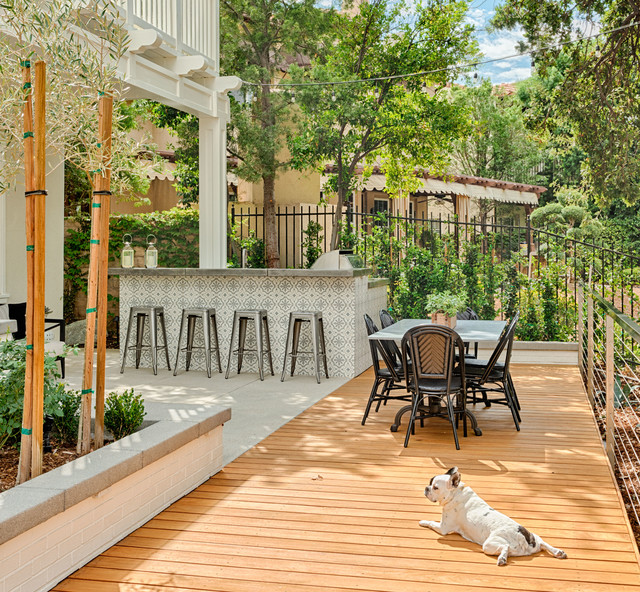
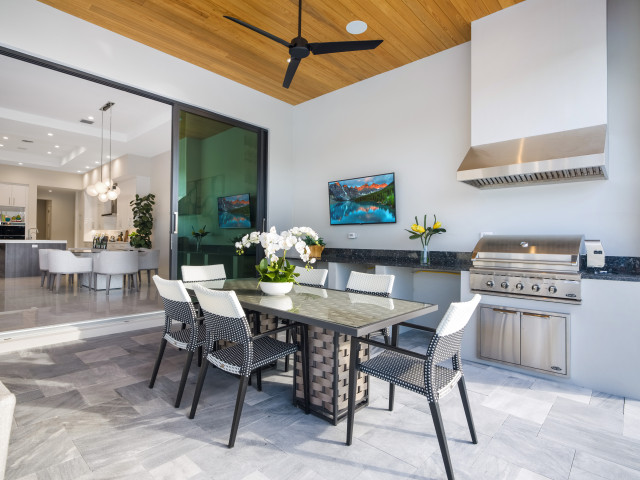
Linear or straight-run kitchen. An outdoor kitchen with a long counter that holds your grill, prep area and serving counter, with storage underneath and perhaps a refrigerator or other amenities, is a great setup for a smaller space. There’s room for one person to grill, with food and tools at hand, and possibly another person doing prep work. The length of the kitchen and the ends are open, so access is easy.
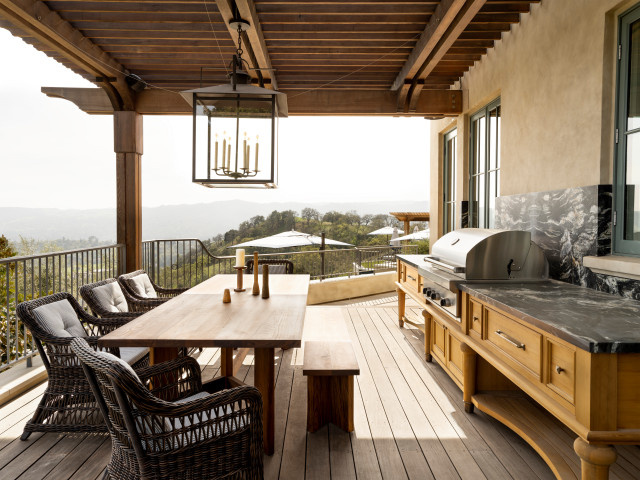
Setting a kitchen against the wall of a house or along the fence will give you a spot to install lighting above the grill and counter or add storage shelves (or a chalkboard for fun messages). The disadvantage will be that the cook’s back will be to the guests, the dining area and the action.
You can also anchor one side of a linear kitchen to the house or fence and turn it into a peninsula, which would open up the kitchen on three sides.

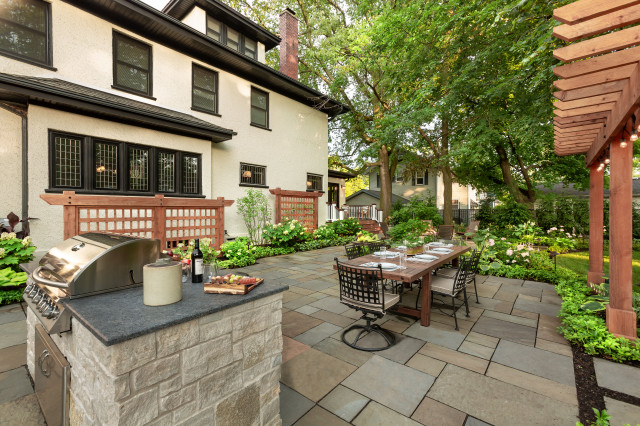
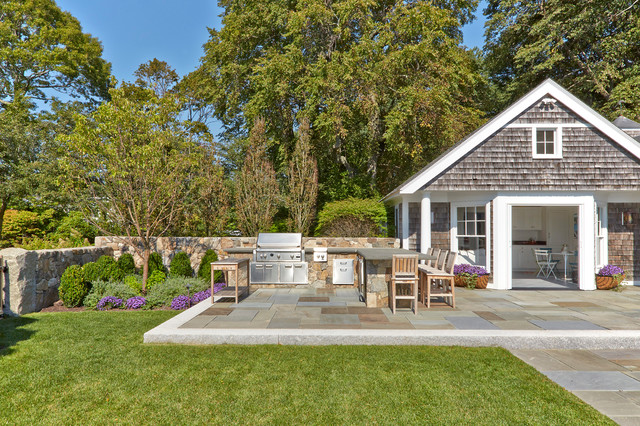
Island kitchen. A similar approach would be to install a barbecue island, which is a better design for including the cook in the action. “You want the cook to be able to engage with family and friends,” says John Algozzini of KD Landscape in Chicago. These standalone grill stations or all-in-one kitchens are open on all four sides, allowing easy access for both the cook and other guests.

Setting an outdoor kitchen island at the edge or along one side of your dining area ensures that the cook will have a great view. You aren’t limited to only a grill and some counter space for an island, especially if you do a custom design. You can add appliances and extend its length or width to allow for dining space.

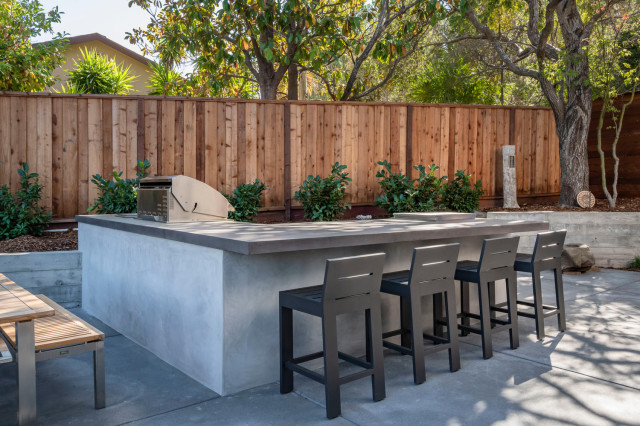
Galley kitchen. A galley-style kitchen with two counters facing each other gives you additional work surfaces and space for more than one cook. It will also allow you to create a small but efficient work triangle. A countertop or bar on one side will provide extra seats for guests to enjoy drinks, dine or just chat. Allow enough room for people to pass by each other, and open it on both ends for easy access.
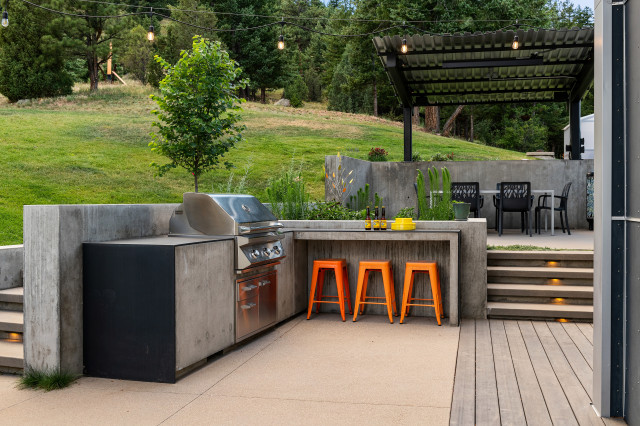
L-shaped kitchen. One of the most popular and flexible kitchen layouts is an L-shaped setup. It lets you spread out the work areas with plenty of open space for people to move around as well as create an efficient work triangle. Because an L-shaped kitchen layout only requires two sides, you’ll have more room for a dining area and easy access.
A favorite L-shaped layout is to place the grill on one leg and then have the rest of the food prep and serving spaces, a bar area or an eating counter on the other leg. If you can also incorporate a view for everyone to enjoy, so much the better.

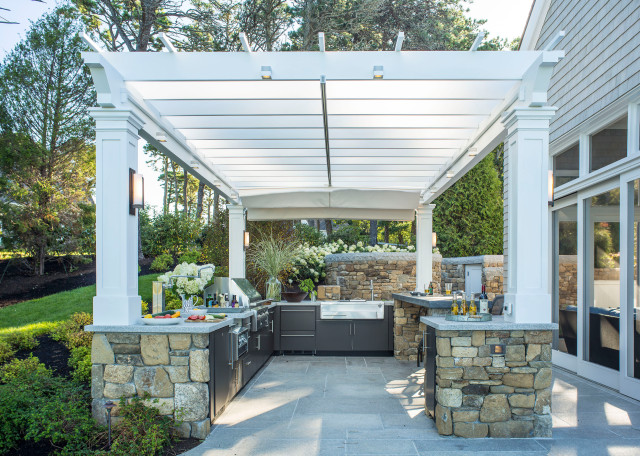
U-shaped kitchen. A U-shaped layout is highly efficient, providing plenty of workspace and counters for serving and eating as well as plenty of storage. A small interior space is ideal for a single cook, putting everything within reach. If more people will be joining in, make it larger so people can easily work together.

A small U-shaped kitchen may feel like a separate space within your overall patio or entertaining area, turning it into a destination. If you’d prefer something more inclusive, you might want to opt for an L-shaped kitchen.

A variation of the U-shaped layout is a G-shaped kitchen layout, which includes a small peninsula on one side of the opening to the kitchen’s interior. You’ll gain extra counter and storage space, but be sure to leave enough width to get into the kitchen in a way that doesn’t feel cramped.

Outdoor Kitchen Measurements to Keep in Mind

Your outdoor kitchen spaces should be comfortable for both the cooks and the guests. Keep reading for some size and measurement guidelines to consider when you’re adding an outdoor kitchen.

Countertops and bars. Your countertop length will vary, depending on your overall space and the amenities you want to add. “We typically say the minimum length for a kitchen would be 6 linear feet, which gives room for a grill and to have a counter area on both sides,” says Rob Douglass of Texas Custom Patios in Houston. The counter can also double as a landing space for anything you pull from an undercounter refrigerator.

  • Width: The recommended width for a basic countertop is 24 inches, although you may want to go wider if you’re planning to use it as a dining spot. A minimum width for a bar top would be 12 inches, with an added 12 to 18 inches if you want an overhang. The overhang itself should be no more than one-third the total width of the bar.
  • Height: The standard height for a working countertop is 36 inches. A height of 30 inches may be more comfortable for dining with standard-height dining chairs. If you don’t want a counter that is too low, consider raising the height and using slightly taller stools or chairs. Bar-style countertops are usually from 42 to 48 inches tall, although they can be higher.
A total of 36 inches is considered the minimum for workspace around a grill. If the grill isn’t centered in the space, most pros recommend at least 24 inches on one side and 18 inches on the other. For a sink, 18 inches on each side is usually sufficient.
Cabinets. Your cabinets will correspond with your counter width and height. Most cabinet depths are 24 inches, but you can adapt them to fit with your grill and other amenities, such as an undercounter refrigerator.
Dining area. Having a comfortable spot for dining is also essential for any outdoor kitchen. For counter or bar seating, allow 20 to 24 inches for each person and 26 to 42 inches of clearing behind the stools or chairs.
For dining tables, a total of 4½ feet around the table is ideal. Plan for 32 inches to give sufficient room to sit and rise comfortably and an additional 22 inches for walking space around the table.

Other Considerations for Your Outdoor Kitchen’s Size and Layout

The last step is to decide where everything will go in the kitchen during the planning stage to be sure you have the space you need. The placement of the grill is paramount in any kitchen. It should be easy to get to and have countertops on either side. If you’re adding a refrigerator or snack area, place it at one end of the kitchen so it’s easily accessed without getting in the way of the cook.
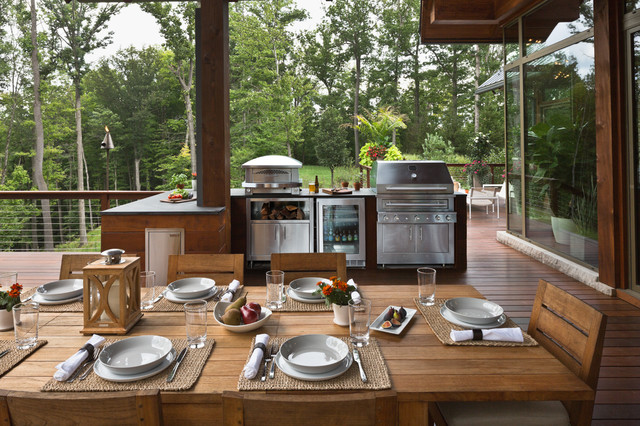
Think of other amenities you’ll want to add — from smokers and side grills to pizza ovens and more — to plan the best use of your space.
Safety note. If you have a built-in grill or any other cooking features, you’ll need to add insulating, fireproof material to keep it safe. You’ll also want to ensure that the grill is kept away from flammable materials, including decking, railings and wood fencing. Finally, place the grill where it will be out of the main traffic path, whenever possible, especially if children will be playing nearby.
Consider your space, entertaining style and outdoor living needs when determining your outdoor kitchen’s configuration. (cited)


Sharing